
Part 4: Gloriously over-engineering
I now have a cluster - but it’s still running over WiFi, and that’s not the end goal. Before I take everything down and switch to a wired setup, I thought, it might be fun to not only deploy the typical nginx-demo or the “Hello World” app from b’nerd, but this blog page - built with Hugo and TailwindCSS ;)
That should actually be pretty straightforward:
🐳 Create a Dockerfile for the blog
🔧 Build a Docker image
📦 Write a deployment.yaml to get it running in Kubernetes
🌐 Add a service.yaml to expose it
Let’s see how it goes – if it works, I’ll be able to visit my own blog from inside the cluster. Full circle moment! 😊
Dockerfile & building the image
The Dockerfile itself was pretty straightforward, but building the right image turned out to be a bit trickier. Initially, I wanted to build and test the image locally on my Mac. The challenge was that my Mac uses the amd64 architecture, while the Raspberry Pis expect an ARM64 (or ARMv7) image depending on the model and OS.
One complication was the base image from klakegg/hugo, which is only available for amd64. Changing to a different ARM64-compatible base image and manually installing Hugo would have meant rewriting significant parts of the Dockerfile and build process - something I wanted to avoid for the sake of simplicity and speed.
Instead, I chose to rely on Docker Buildx’s multi-architecture build to create images compatible with both my Mac and the Pis, without changing the Dockerfile itself.
To solve this, the quickest approach was to build a multi-architecture image using Docker Buildx with the following commands:
docker buildx create --use
docker buildx build --platform linux/amd64,linux/arm64,linux/arm/v7 -t vtrhh/raspberry-adventures:multiarch --push .
Retrieving the kubeconfig for deployment:
In my initial experiments with the Pi 4, I directly added the necessary YAML files on the device.
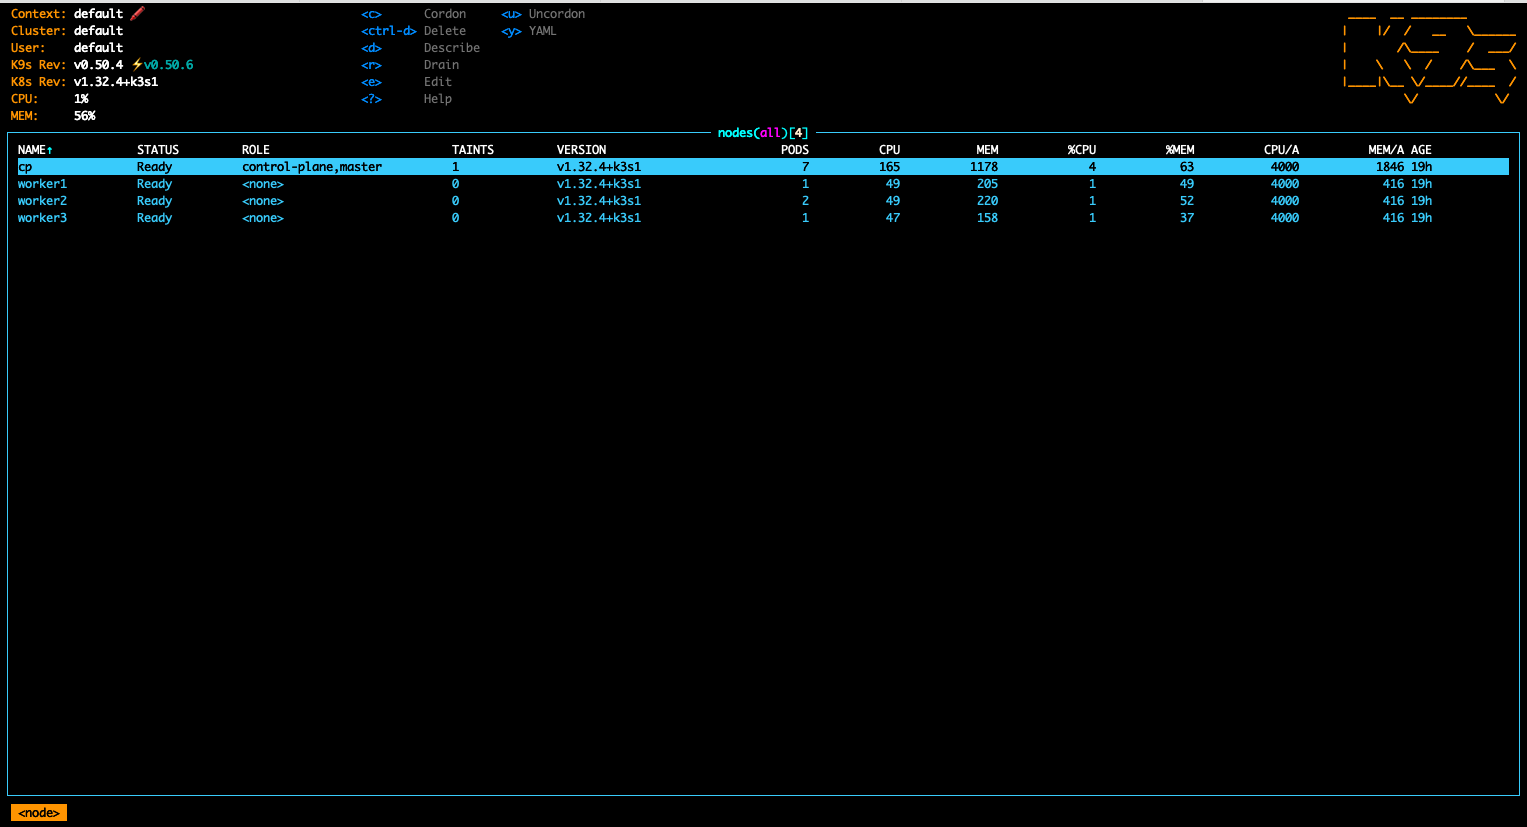
This time, I chose to retrieve the kubeconfig from the control plane Pi, which lets me manage everything from my local machine and use my beloved k9s to keep an eye on my cluster.
By running
sudo cat /etc/rancher/k3s/k3s.yaml
I got the config, copied it over to a local kubeconfig.yaml file, changed the server value with the IP of my control plane Pi, exported it by
export KUBECONFIG=.kube/kubeconfig.yaml
and here we go with k9s:
Deployment
Time to get the blog running on my cluster 🎉 I need deployment.yaml and service.yaml files:
deployment.yaml
apiVersion: apps/v1
kind: Deployment
metadata:
  name: raspberry-adventures
spec:
  replicas: 1
  selector:
    matchLabels:
      app: raspberry-adventures
  template:
    metadata:
      labels:
        app: raspberry-adventures
    spec:
      containers:
        - name: raspberry-adventures
          image: vtrhh/raspberry-adventures:multiarch
          ports:
            - containerPort: 80
service.yaml
apiVersion: v1
kind: Service
metadata:
  name: raspberry-adventures-service
spec:
  selector:
    app: raspberry-adventures
  type: ClusterIP
  ports:
    - port: 80
      targetPort: 80
which can be deployed to my cluster by running
kubectl apply -f deployment.yaml
kubectl apply -f service.yaml
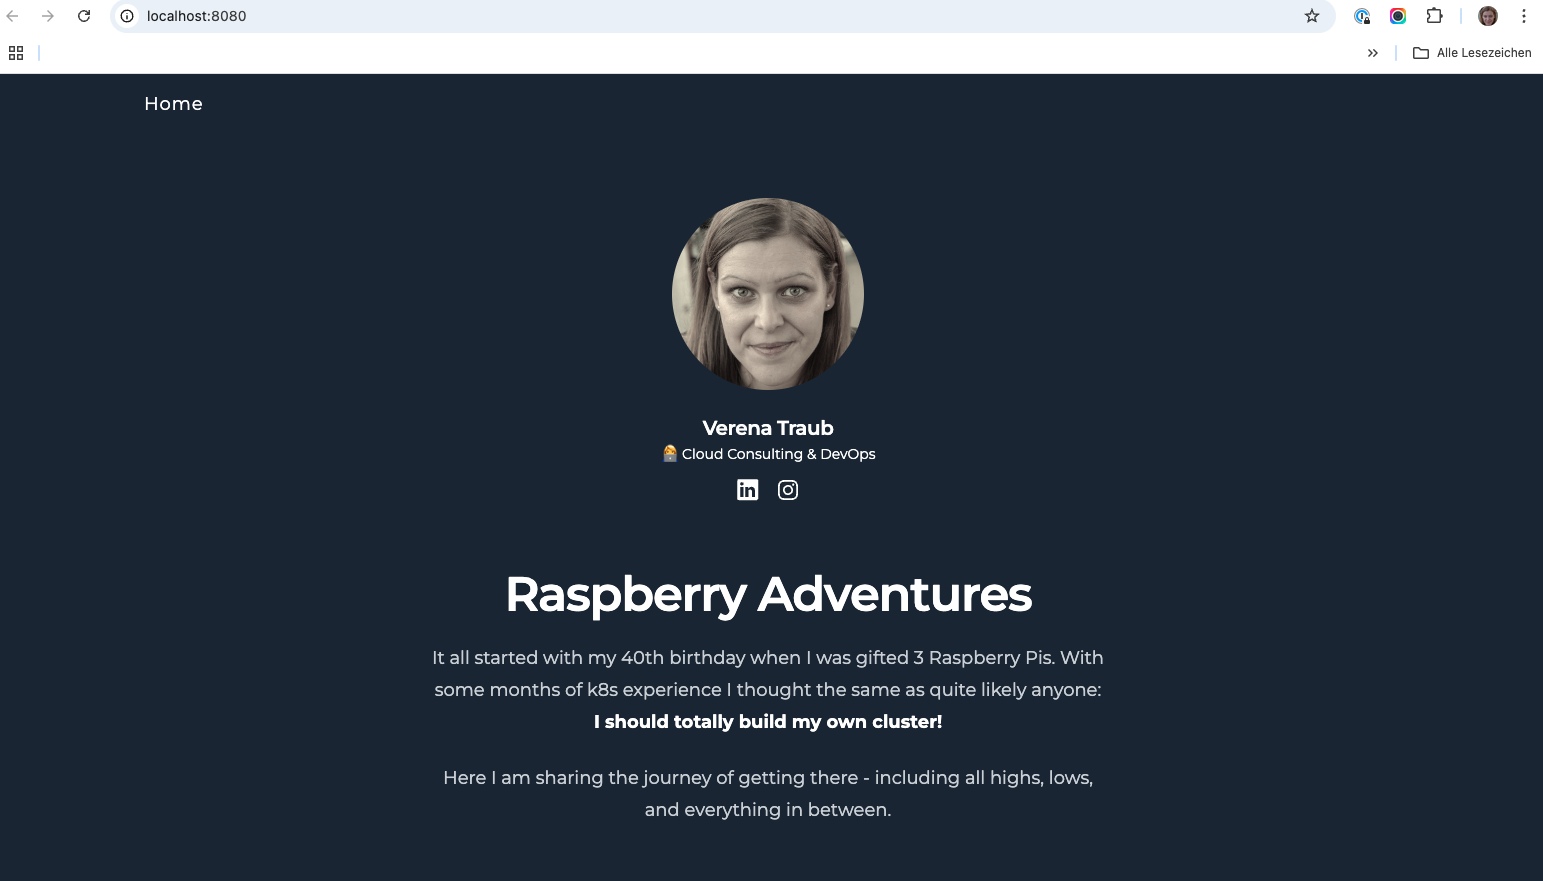
Thanks to port forwarding, I can now visit my blog on http://localhost:8080/. 🎉
But: k3s comes directly with Traefik out of the box, an application proxy I can use to simplify exposing my applications to the outside world.
All I need to add is an ingress resource:
ingress.yaml
apiVersion: networking.k8s.io/v1
kind: Ingress
metadata:x
  name: raspberry-adventures-ingress
spec:
  rules:
    - host: raspberry-adventures.local
      http:
        paths:
          - path: /
            pathType: Prefix
            backend:
              service:
                name: raspberry-adventures-service
                port:
                  number: 80
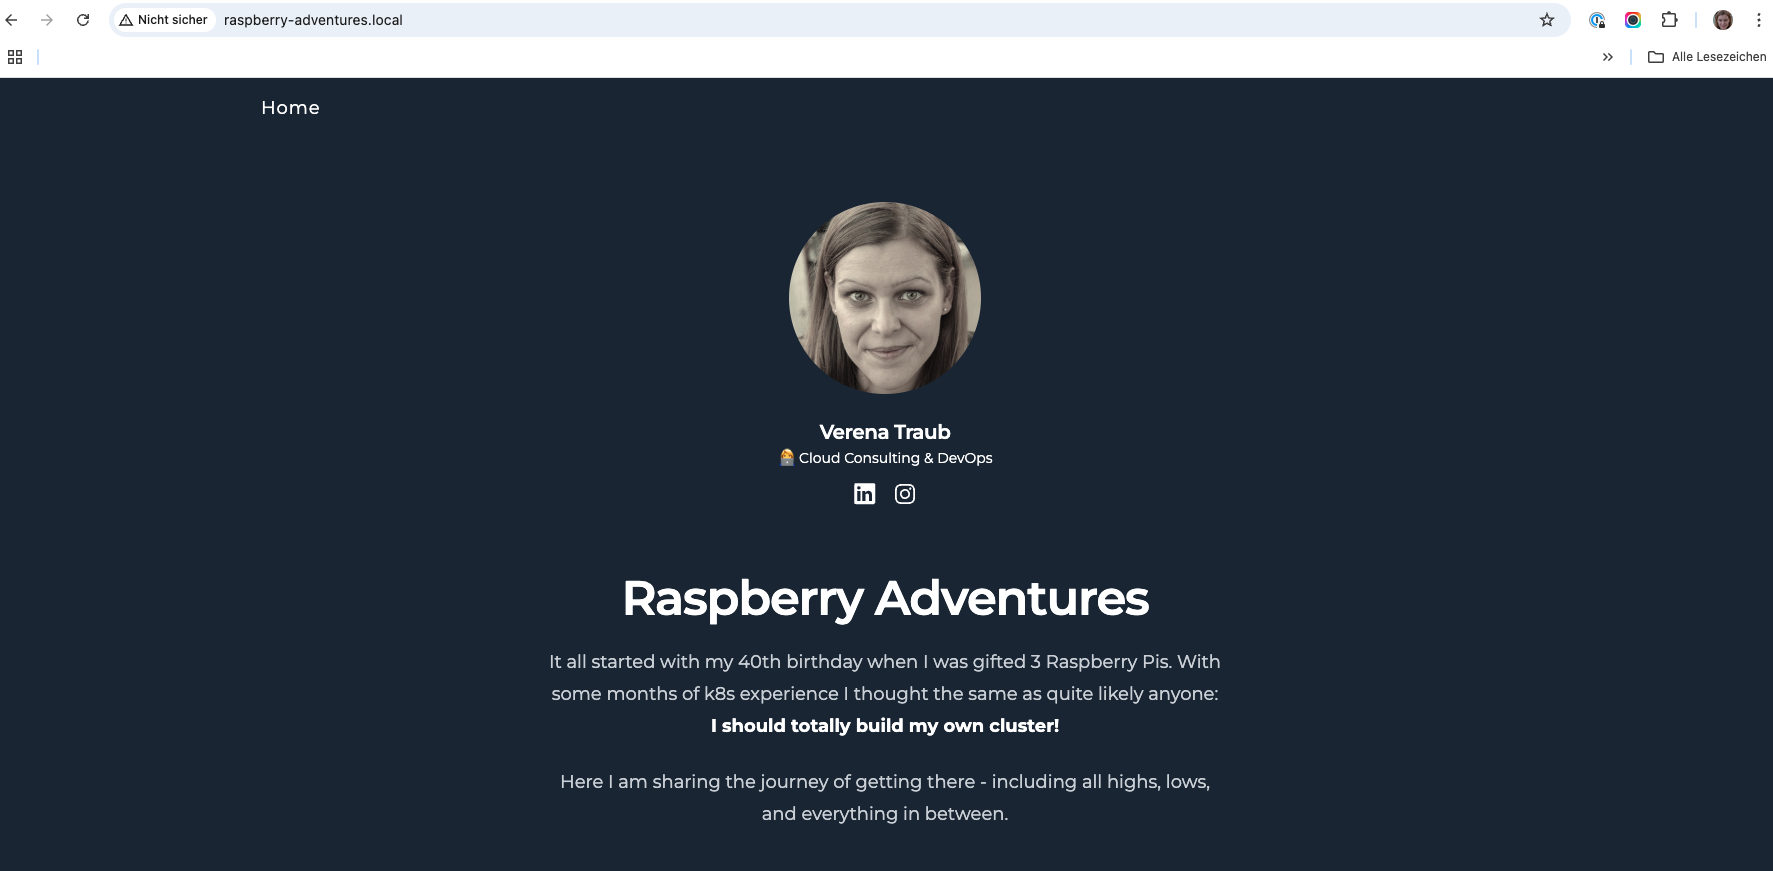
After adding the Pi’s IP and the hostname to my /etc/hostsfile, I can visit my blog also at http://raspberry-adventures.local/! 🎉
So, all done for this part :) Next up: Stop cheating with Wifi - time to get the cables involved.