Getting ready for the next conference
The next conference is coming up, so it’s time to fire up the cluster again. Given how everything went to hell last time, I figured: let’s start from scratch. It should be fast — I did the setup already, and I have a whole pile of new SD cards ready. Just in case…
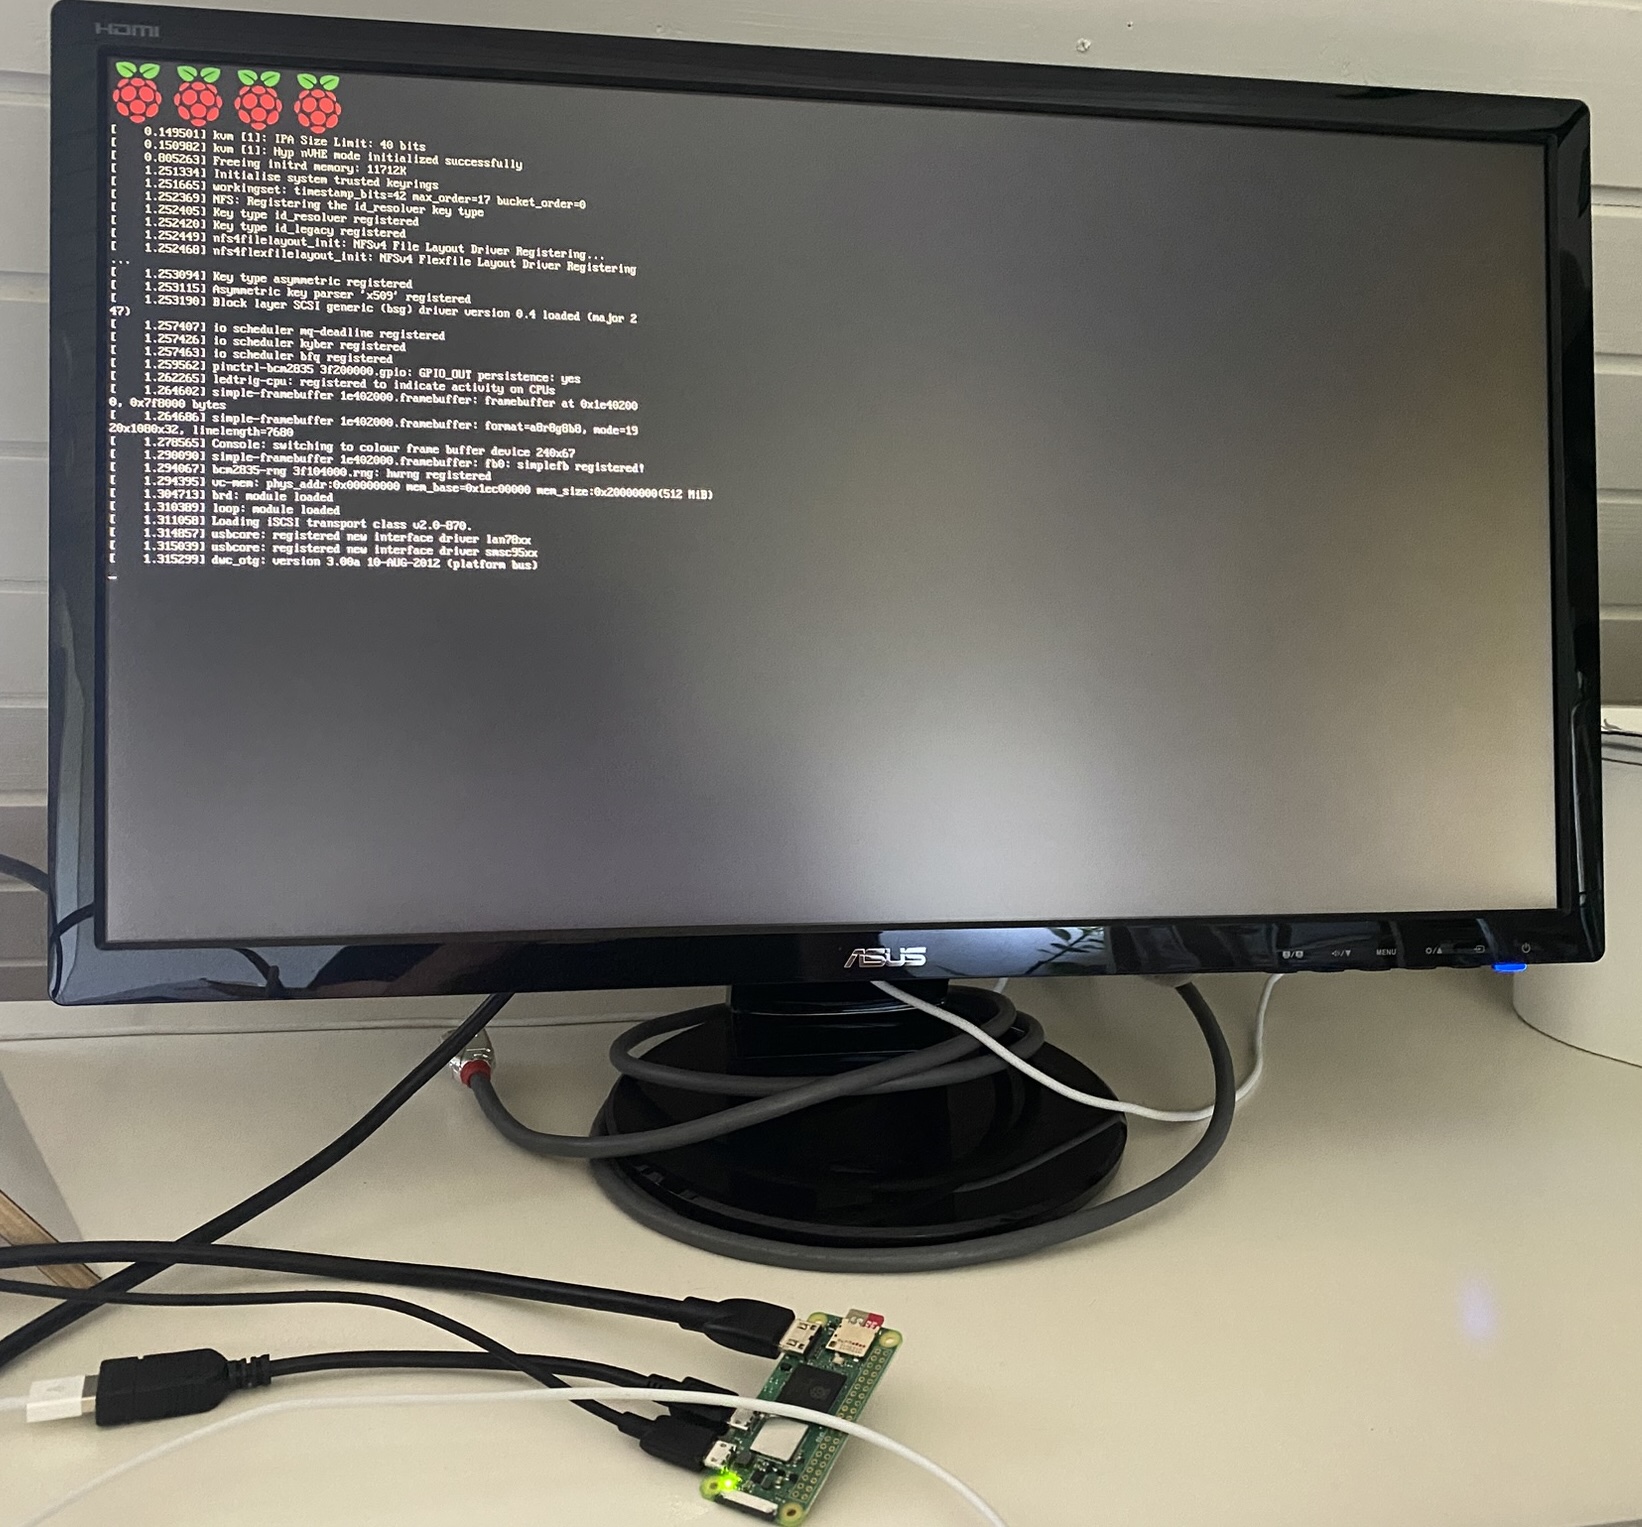
Turns out: It wasn’t entirely quick. A new OS has arrived (Say hi to Debian Trixie), and it does things very differently than the one I used in spring. But hey, new challenges, right?
Let’s skip the hours of “why isn’t this working?!” and dive straight into the how-to. Goal for this post: get the general network up and running. k3s will follow in the next article.
What’s new in the OS
A few things changed that made me scratch my head:
- No DHCP by default — it’s all NetworkManager now. DHCP + NetworkManager fight if both exist (took me forever to figure out).
- systemd-networkd is gone for workers - NetworkManager everywhere.
- iptables are not the default anymore; hello nftables
- SSH with passwords behaves differently - storing keys on the control plane felt weird.
- No
dphys-swapfile, but there’s zram instead. Using it to disable swap is a bit different.
So, plenty to consider. Let’s dive in!
Network plan
I decided to add the former control plane Pi Zero as third worker this time - so the network should look as follows:
| Node | Interface | IP Address | Netmask | Gateway |
|---|---|---|---|---|
| control plane | eth0 | 192.168.42.10 | 255.255.255.0 | (none) |
| worker1 | eth0 | 192.168.42.11 | 255.255.255.0 | 192.168.42.10 |
| worker2 | eth0 | 192.168.42.12 | 255.255.255.0 | 192.168.42.10 |
| worker3 | eth0 | 192.168.42.13 | 255.255.255.0 | 192.168.42.10 |
Control plane setup
Install OS, SSH into it and update all packages:
sudo apt update && sudo apt upgrade -y
Disable swap with zram
sudo swapoff /dev/zram0
sudo systemctl mask systemd-zram-setup@.service
and check if it worked with
swapon --show
free -h
Assign Static IP with nmcli (NetworkManager CLI):
# Check the currently managed connections, find eth0
sudo nmcli -p connection show

# edit the connection to use the static IP address I chose
sudo nmcli c mod "Wired connection 1" ipv4.addresses 192.168.42.10/24 ipv4.method manual

# take the connection down and up again so changes get applied
sudo nmcli c down "Wired connection 1" && sudo nmcli c up "Wired connection 1"

# Check if it worked via
hostname -I
ip addr show eth0
And there we have the first network bit on the Control Plane. Now comes the fun part - making the Control Plane act as NAT-Gateway.
Making Control Plane PI also acting as a NAT-Gateway
We first need to enable forwarding:
echo "net.ipv4.ip_forward=1" | sudo tee /etc/sysctl.d/99-ipforward.conf
sudo sysctl --system

# Check if it worked and returns value 1
sysctl net.ipv4.ip_forward
I successfully received value 1 - but the interesting question is: Will it also stay after reboot? And what shall I say - yes, it did :)
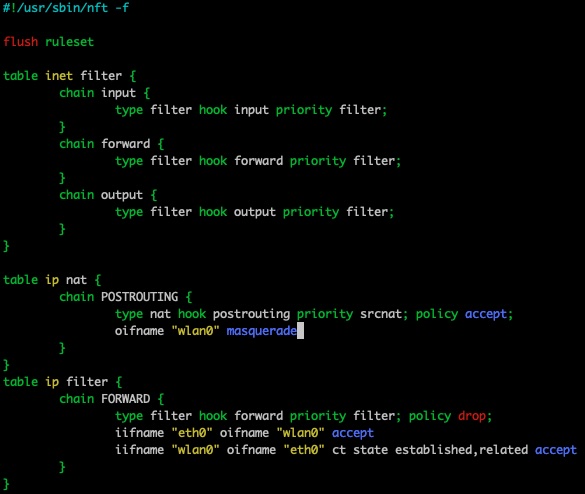
Now comes the fun part - adding NAT table and rules. I remember this was a pain in my last setup, but this time, it worked surprisingly smooth via nftables.. The steps:
# Check if there are already tables (none in my case)
sudo nft list tables

# Add NAT table & chain:
sudo nft add table ip nat
sudo nft 'add chain ip nat POSTROUTING { type nat hook postrouting priority 100; }'

# Add filter & chain
sudo nft add table ip filter
sudo nft 'add chain ip filter FORWARD { type filter hook forward priority 0; policy drop; }'

# Setup Rules / MASQUERADE
sudo nft add rule ip nat POSTROUTING oifname "wlan0" masquerade
sudo nft add rule ip filter FORWARD iifname "eth0" oifname "wlan0" accept
sudo nft add rule ip filter FORWARD iifname "wlan0" oifname "eth0" ct state related,established accept
After we set up the rules, we also need to persist them into the etc/nftables.conf. Copying them via cli did not really work for me (permission issues, I am not sure why), so I took the easy way:
# Get all the rules
sudo nft list ruleset

# Copy the output and add it to the conf via
sudo nano /etc/nftables.conf
Finally, enable and start nftables:
sudo systemctl enable nftables
sudo systemctl start nftables
And after rebooting the Pi, the rules and IP forwarding are still there :) So from Control Plane perspective, we are all set. Time for the workers.
/etc/hosts setup for lazy people
To make things easier, I adapted my /etc/hosts file on the control plane and added all IPs of my workers already:
192.168.42.10  cp
192.168.42.11  worker1
192.168.42.12  worker2
192.168.42.13  worker3
That way, I can later just ssh into them with:
ssh verena@cp.local
ssh verena@worker1
instead of using the IPs.
Worker setup
Static IPs & Gateway
As mentioned, we also have NetworkManager in the game here, too. Given I can’t just SSH into the worker (no Wifi), I need to connect them one by one to a monitor.
Setting up the static IPs here is actually pretty simple, but it requires some typing - sadly, no copy & paste. Still, at that point, I felt nmcli might become my new best friend - and also might solve my changing Wifi issue very easily :)
Here is an example for worker 1 (the others are similar, just the IP is changing)
# Check for the connections already set up (should return no eth0 connection)
sudo nmcli con show

# Add new connection with our Static IP
sudo nmcli connection add type ethernet ifname eth0 con-name cluster-net ipv4.addresses 192.168.42.11/24 ipv4.gateway 192.168.42.10 ipv4.method manual ipv6.method ignore

# Let the connection autoconnect when booting
sudo nmcli connection modify cluster-net connection.autoconnect yes

# enable NetworkManager
sudo systemctl enable NetworkManager
Adapt SSH Config
I would like to connect to my workers from the Control Plane with username and password, but that’s disabled on the new OS. Hence I need to update the SSH config by running
sudo nano /etc/ssh/sshd_config
and setting PasswordAuthentication to yes. After restarting with
sudo systemctl restart ssh
we are all set :)
Verifying connectivity
The very last step is to check if everything really worked as expected. First test: SSH into the workers from the control plane by running:
ssh verena@worker1
From our worker1 Pi, we can then check if we can reach the internet via our NAT Gateway on the Control Plane:
ping 8.8.8.8

# or
curl -I https://raspberry-adventures.netlify.app/
Worked! And honestly, that made my day :)
The cluster is now ready - next step: Getting k3s on it again and deploy the blog.
Stay tuned!