Getting ready for code.talks
It’s been a while since my last post - preparations for my conference talk at code.talks got intense, and afterwards I got ill :/
But finally, here’s an update. And maybe first things first: the talk went well 🥳
Before stepping on stage, I was working on a few more things:
- Recorded a demo video
- Wifi settings in many different flavors
- code.talks special: Does it run Doom?
- SD card backup
- Aesthetics :)
Let’s dig into it step by step :)
Demo video
Wifi gave me headaches last time working on the Pi’s in May, and before standing on the code.talks stage without any working demo, I decided to record one. The idea was: I’d add another post (“Hello from code.talks”) to this blog, update the image & restart the pod and voilà - the new article would appear. Bonus for the live demo would be taking a picture of the audience and adding it to the blog. But to have something reliable, this is the video I recorded as a backup:
Wifi settings
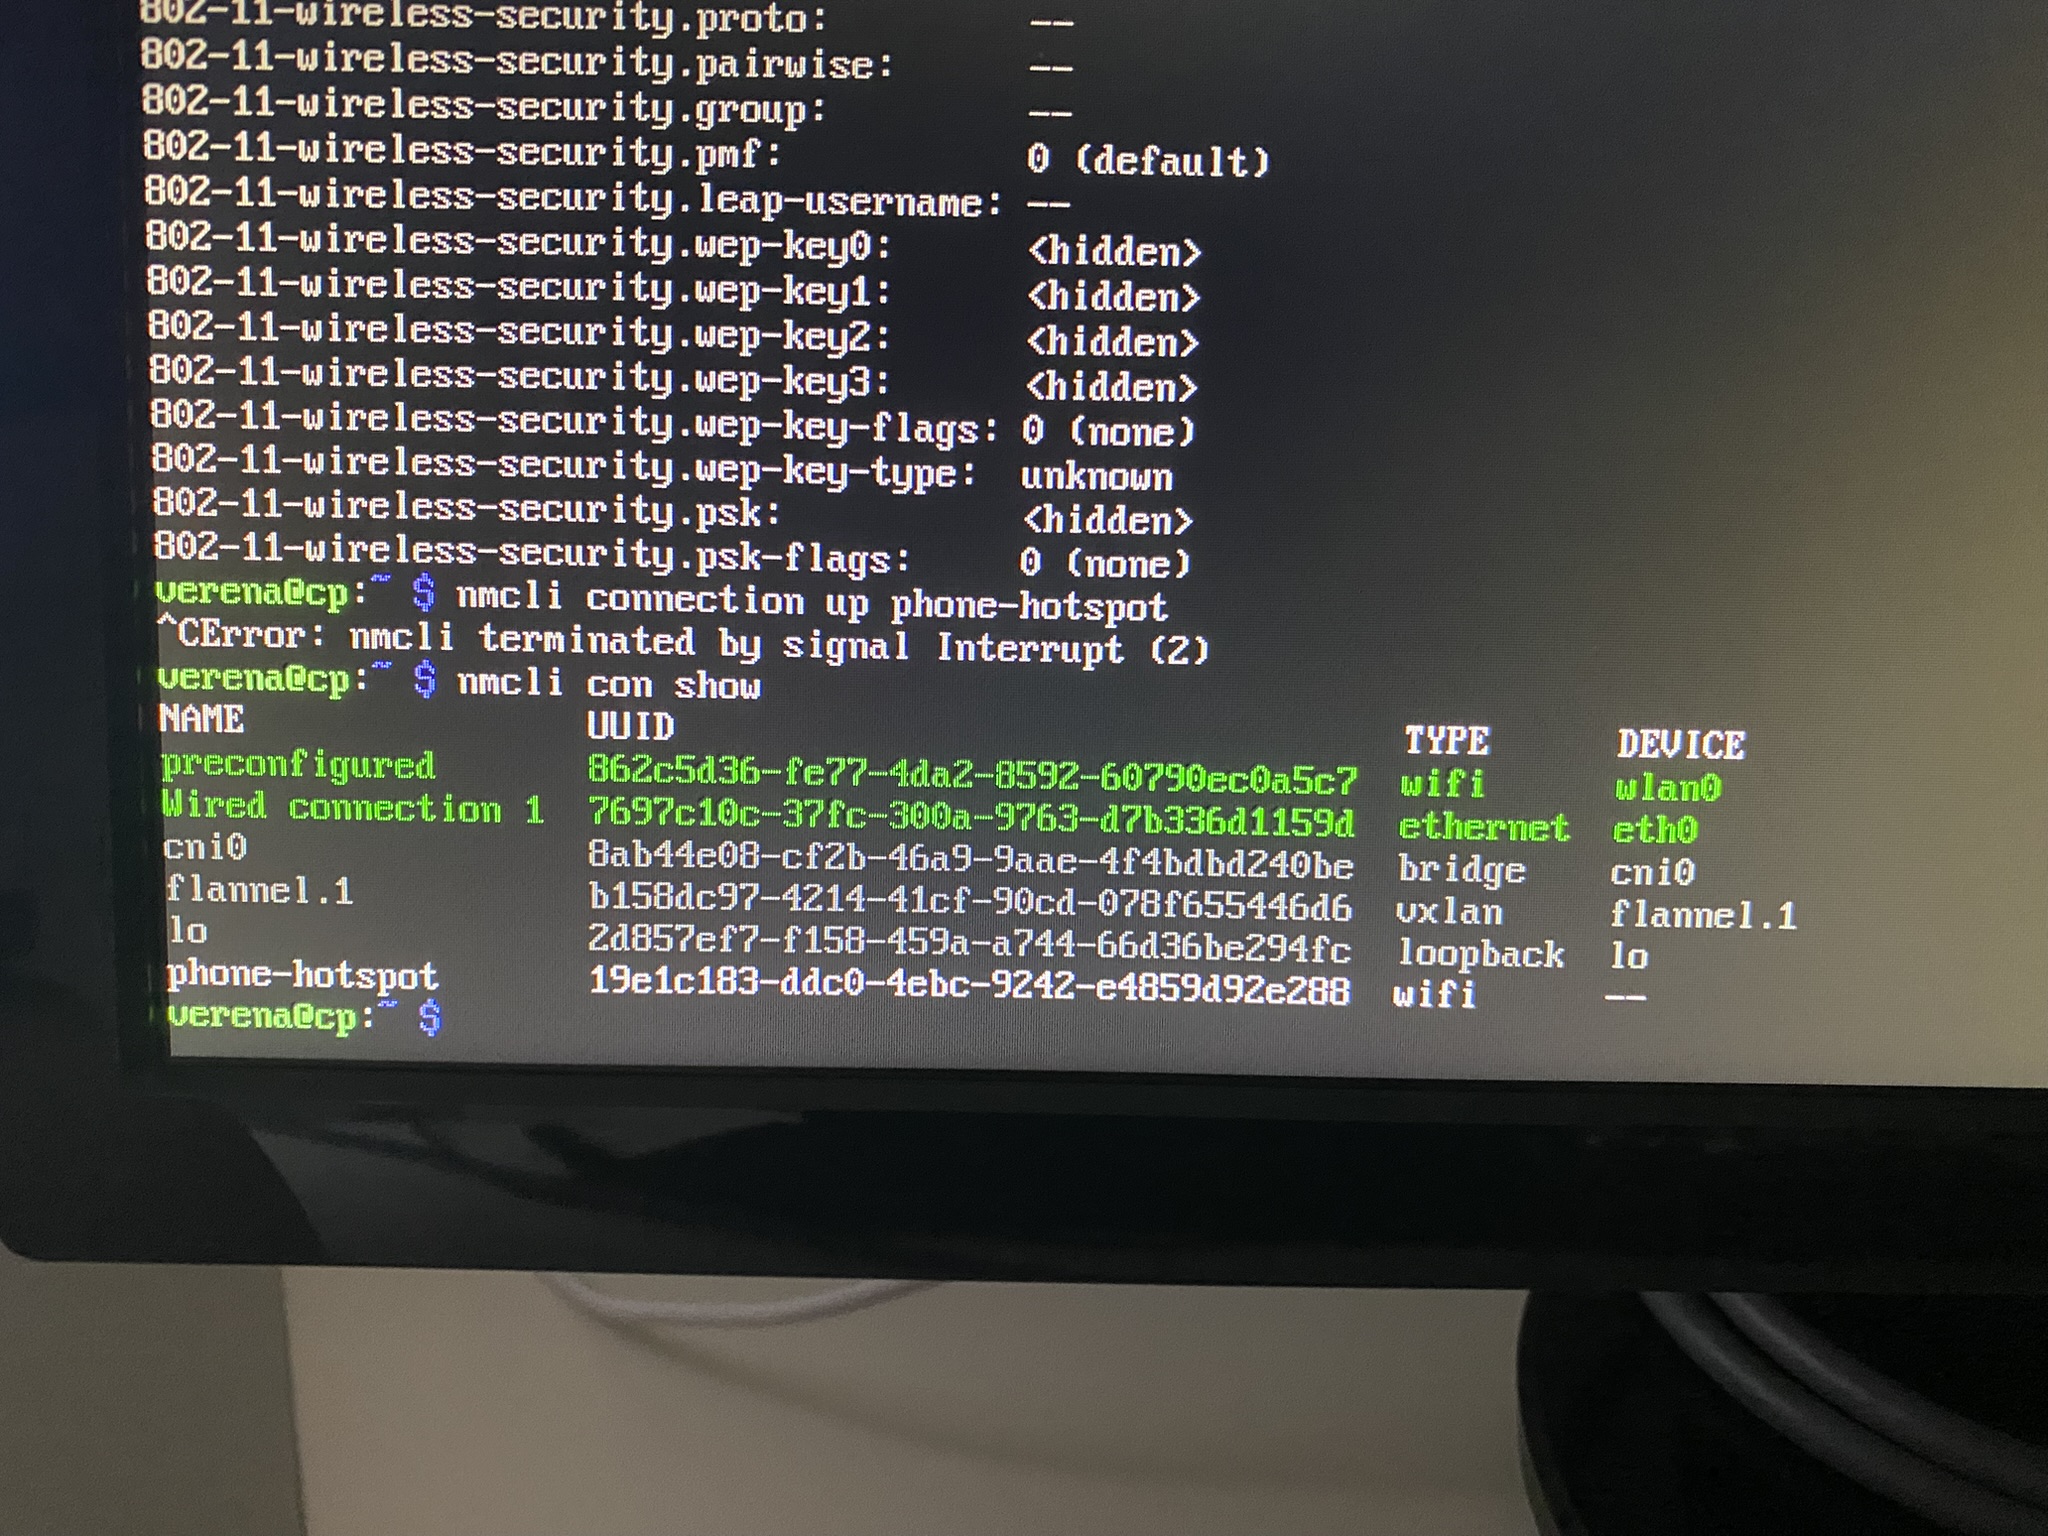
Generally speaking, it should be extremely easy to add a different wifi connection to the Pi, especially thanks again to NetworkManager. In theory, the following should work:
# Check for current connections (should return the one added with Raspberry Pi Imager as "preconfigured" connection)
nmcli con show wifi0

# Add another connection (e.g. the office wifi in Hamburger)
sudo nmcli connection add type wifi ifname wlan0 con-name "OfficeWiFi" ssid "OfficeSSID"
sudo nmcli connection modify "OfficeWiFi" wifi-sec.key-mgmt wpa-psk
sudo nmcli connection modify "OfficeWiFi" wifi-sec.psk "OfficePassword"
sudo nmcli connection modify "OfficeWiFi" connection.autoconnect yes
So when bringing the Pis to the Hamburg office, the connection should work out of the box (thanks to the autoconnect). Thing is: I couldn’t test it because I corrupted my SD card (long story) and had to set the Pi up fresh in the Hamburg office - of course then with this Wi-Fi.
Anyway, I thought given wifi might also be flaky at conferences, the easiest backup would be to preconfigure my iPhone hotspot. I added it as described above, but it didn’t work. It connected for a few miliseconds, then lost the connection. Or (with some other techniques I honestly can’t recall 100%), it wasn’t even accepting the connection,but compaining about the key - which I explicitly set. Long story short: Turns out, Linux might have a severe issue with my iPhone in general … Not really surprising, right?
So I ordered a wifi stick, hoping to use it as an additional device and “trick” Linux into connecting the hotspot through it. Of course I ordered the wrong one - the driver was too old for my Debian Trixie OS 🙄
Then I tried to pre-save the connection of the conference wifi so it would autoconnects at the event - again no luck … This time maybe due to specific wifi settings 🤷♀️
Summing up: my gut feeling for now is that it works perfectly fine for typical “home networks” without special settings, but not for any other, more specific wifi setup… Well … Good thing I had my video ;)
code.talks special treat: DOOM
There’s something very specific about code.talks: People there tend to love DOOM. And it’s no coincidence that the one and only John Romero is a regular guest. So I thought:why not have a special demo for code.talks - showing that it does run DOOM?
And well, technically, of course it runs DOOM, anything can run it ;) Even pregnancy tests or printer monitors. Thing in my case though: I have a headless setup, so no GUI / monitoring attached. This gave me headached again … But let’s take some steps back: What exactly is needed to get started?
Install chocolate-doom
Most blogs I came across were using chocolate-doom, a DOOM source port, so I directly started there. Adding freedoom would directly allow me to play the community version of the game. Not the final goal, but a good start.
Installation is easy via
sudo apt install chocolate-doom
sudo apt install freedoom
Then running:
chocolate-doom -iwad /usr/share/games/doom/freedoom1.wad
when being connected to the control plane Pi let me direcly play the game. Awesome!
Playing it from my laptop instead from the Pi itself
I also wanted to play it from my laptop via SHH. This was way trickier. After trying a few things, VCN (server on the Pi, viewer on my Mac) in the end made the trick.
On my Mac shell, I just needed to run:
# start the server
vncserver :1 -geometry 1280x720 -depth 24

# set a display
export DISPLAY=:1

# start freedoom
chocolate-doom -iwad /usr/share/games/doom/freedoom1.wad
and off we went, as you could see in the following video:
Very important, as I learned the hard way after a night shift: After you’re done playing, stop the server on the Pi with
vncserver -kill :1
before shutting the Pi down. Otherwise, chances are high your SD cards gets corrupted (see above 😇) and fixing this is quite annoying.
Getting real: Using the original DOOM WAD files
Freedoom was fun, but of course we want to play the real game. For that, I got the licenses and extracted the WAD files from the Windows .exe file (thank you innoextract).
I though it might be helpful to keep the WADs on an USB stick to save SD card space, so I copied them over and mounted the stick via:
sudo mkdir -p /media/doom
sudo mount /dev/sda1 /media/doom
Then checked if the mounting worked via ls /media/doom.
So far so good, but running
chocolate-doom -iwad /media/doom/doom.wad
didn’t start the game - neither directly on the Pi nor on my laptop. No matter what I tried (and I tried A LOT of different things, even downloaded an Emulator - of course too old for my OS), I always ended up with:
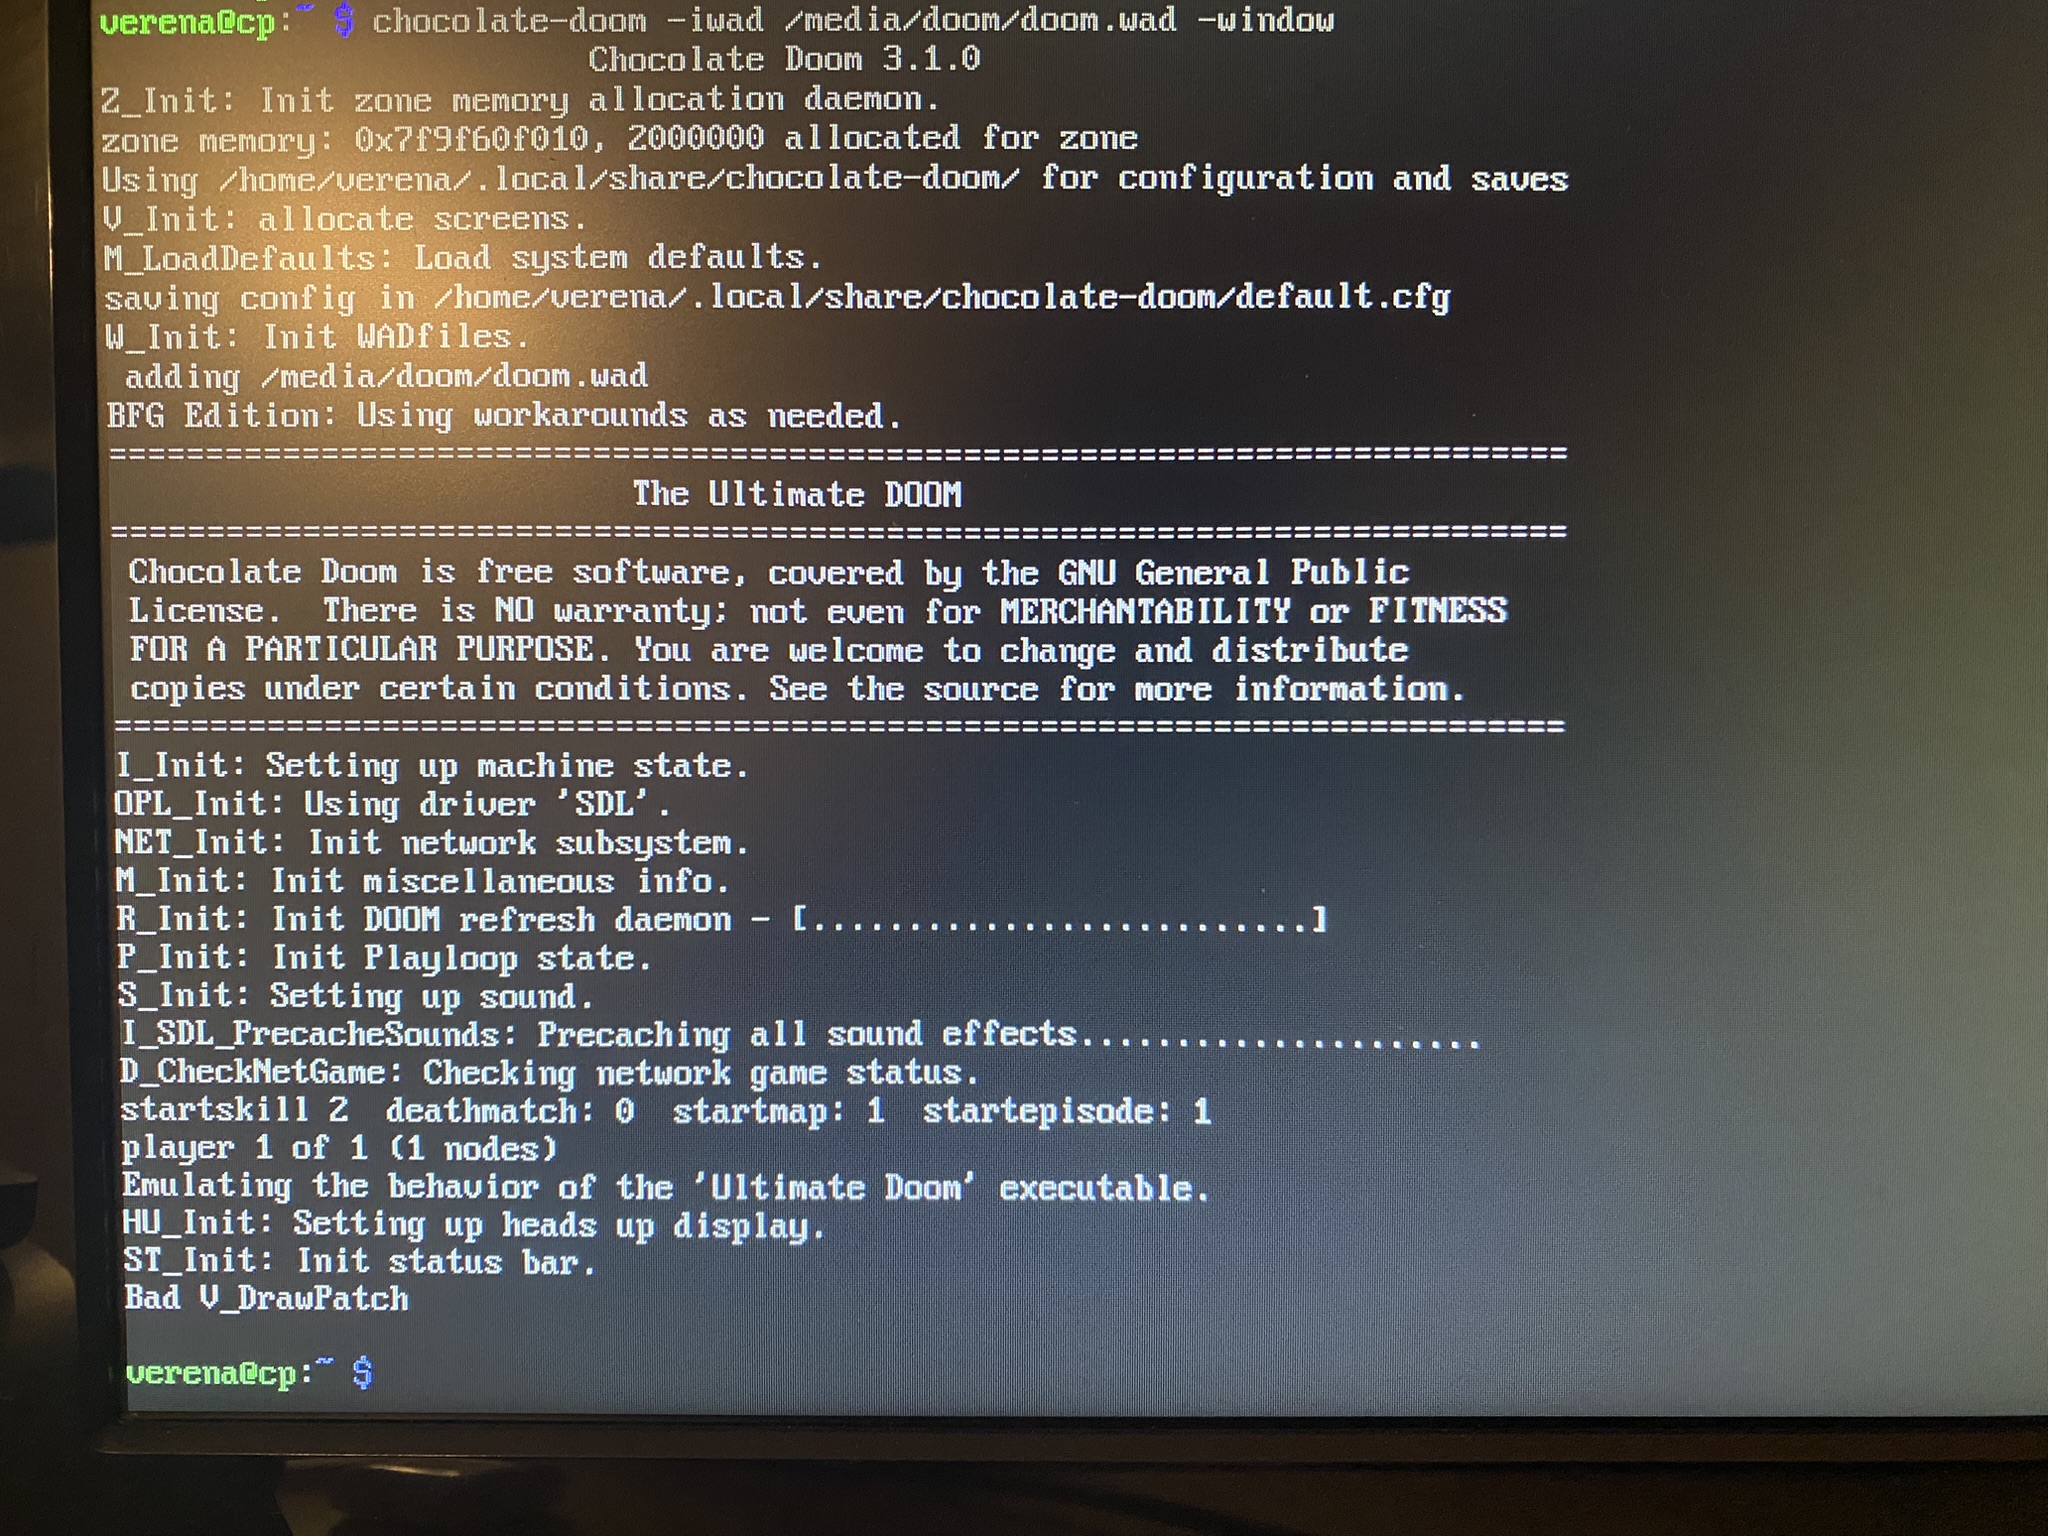
So in the end, the real DOOM also wants a real monitor - no headless setup like I’m running right now.
Given time was running out, I decided to be ok with freedoom directly from the shell as my live demo - and save the real DOOM for later.
Final preparation: Backup of the SD card
Given my SD card already got corrupted while playing around with DOOM and I had to set up my control plane again (including the whole networking, NAT gateway and k3s), I wanted to play safe and have a spare SD card as a backup. It took some time, but was actually quite simple.
After inserting the SD card into my Mac, I first checked its name:
diskutil list
then unmounted it with
diskutil unmountDisk /dev/disk4
and finally started the backup with
sudo dd if=/dev/rdisk4 of=/Users/verenatraub/pi_backup.img bs=4m status=progress
When the backup was dome, I ran sync, safely ejected the original SD card, inserted the backup card and restored the image with
sudo dd if=/Users/verenatraub/pi_backup.img of=/dev/rdisk4 bs=4m status=progress
And there we have our backup :)
Aesthetics
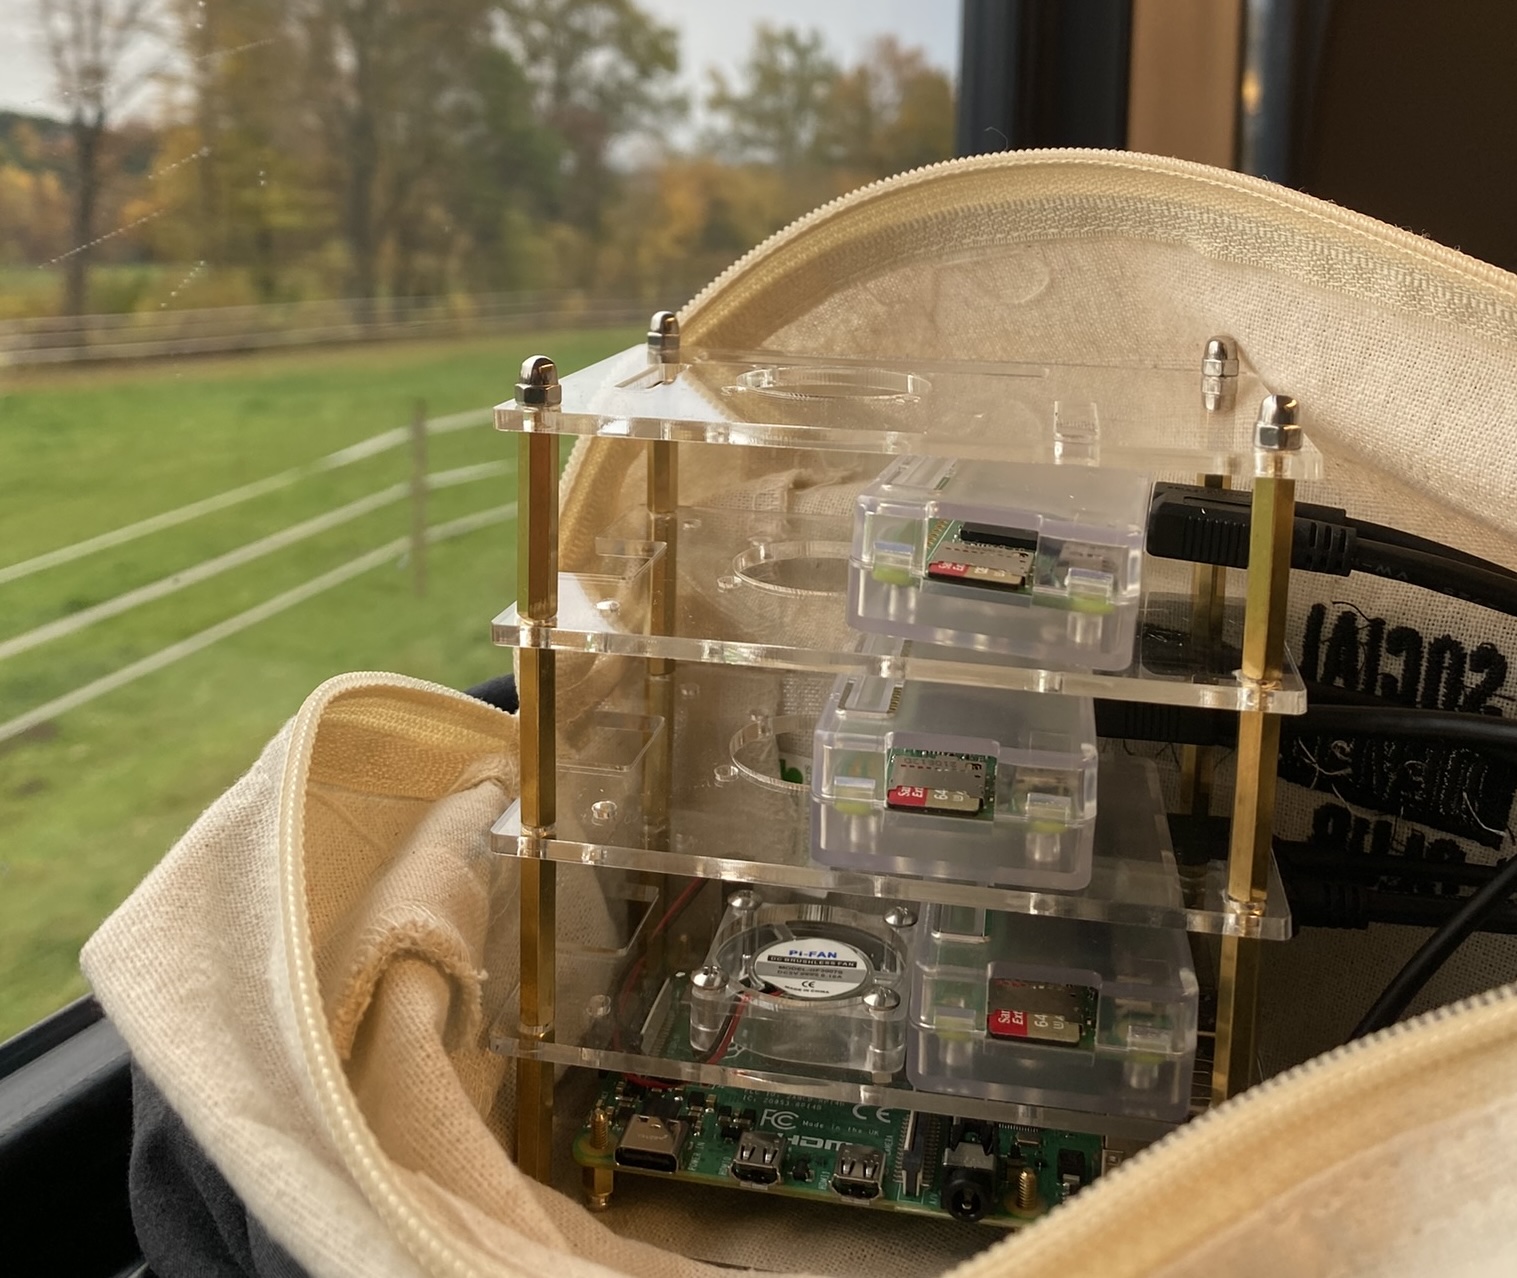
You might remember my last setup with my son’s LEGO shown in Part 7 . As fun as it looked, it was pretty unstable and hence not really practical. So I though I’d invest in a proper rack. Which sounds easier than you might think given there are plenty of racks for Pi 4 / 5 available, but not for my Pi Zeros. So I decided to improvise.
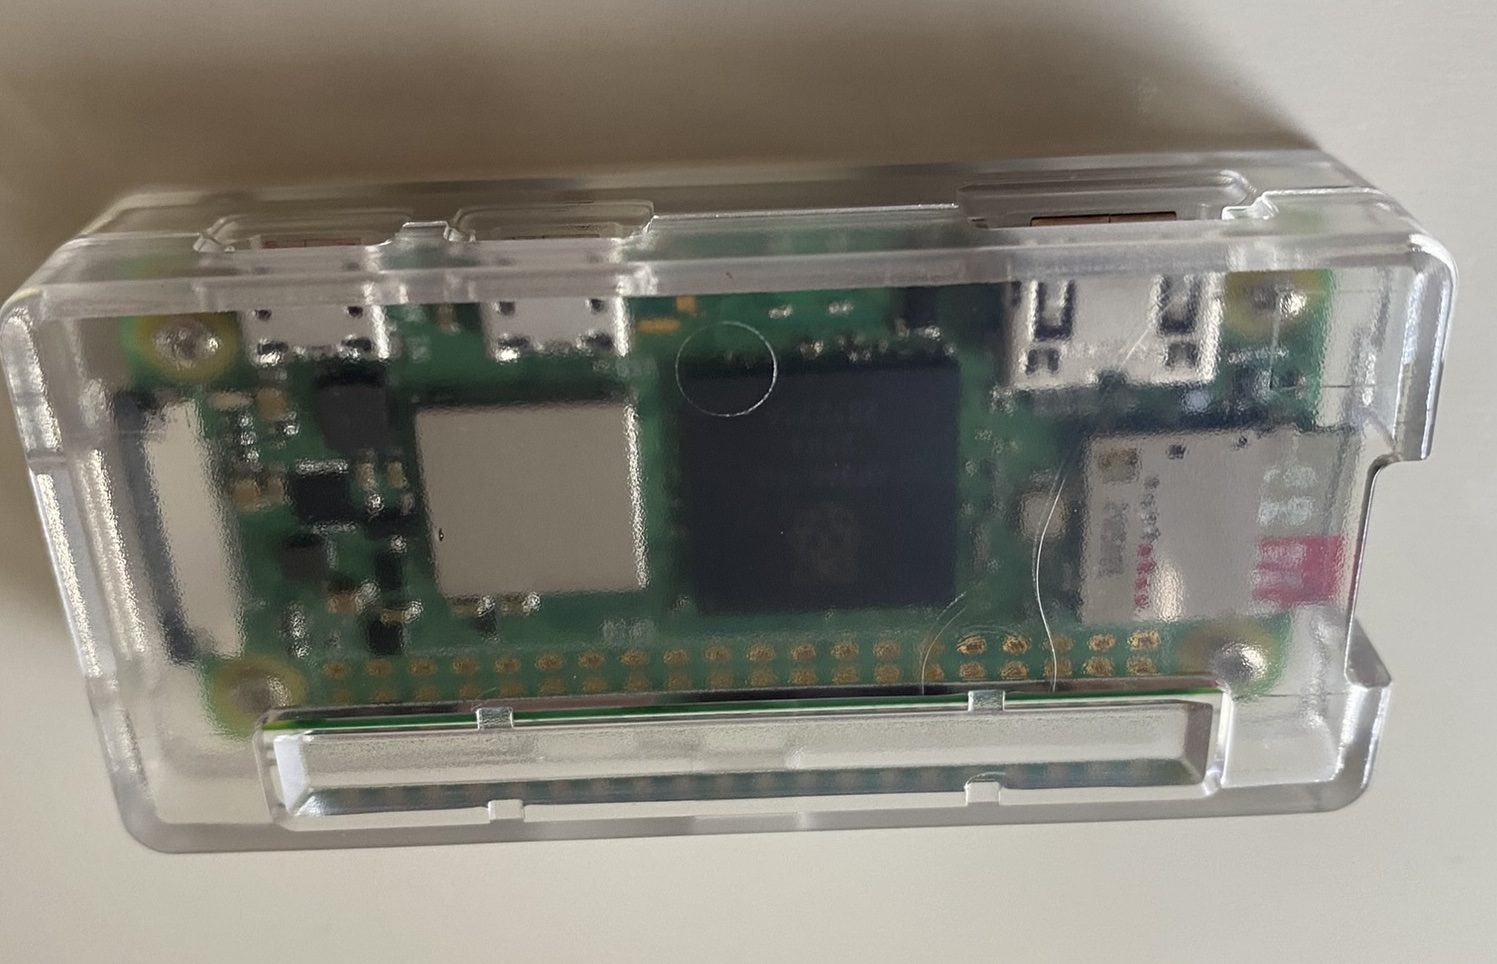
From my last setup I still had the cases for the Zeros
and they would also work with a typical Pi 4 Rack. So, in the end it looked like this when traveling to code.talks:
What’s next
So, I am still not super happy with not having a proper wifi backup - and DOOM, the real one, is still waiting out there. Stay tuned ;)